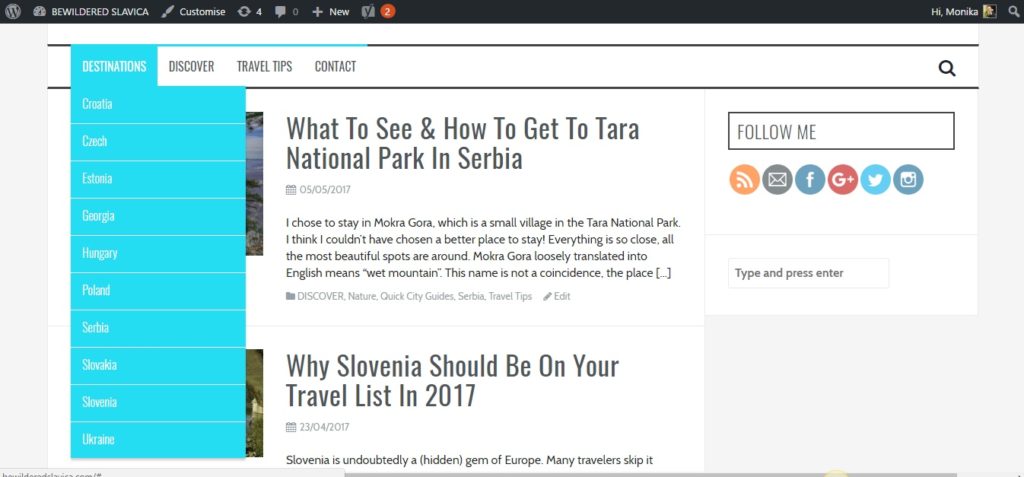
In order to create a beautiful dropdown menu on your WordPress blog without coding (yay!) you’ll need just a slight amendment. Don’t worry, it’s not painful and once you’ve gotten the idea, it will go smoothly and you will be able to play with your menu items as much as you want!
On my blog I’ve created just country categories, but you can add also cities, continents and whatever floats your mind. Possibilities are endless and your imagination is the only limit.
With one simple step you will be able to create as many items and subitems in your menu as you wish.
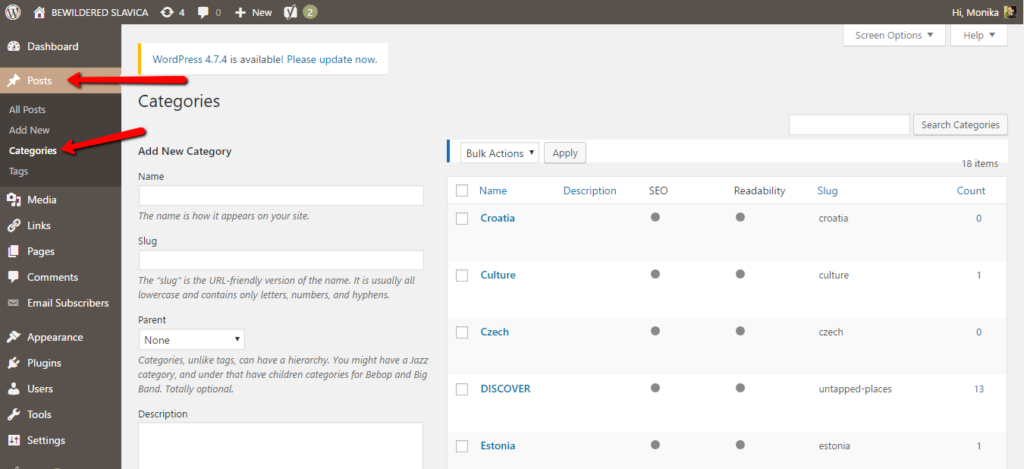
Remember that first of all you have to create categories (in the dashboard: Posts – Categories) so then you can drag them and create a neat menu. If you have already created the categories, you can skip this step and go directly to the first video in this post.
Once you’ve created the categories in WordPress, follow the steps from the video below.
- Go to your WordPress dashboard, click Appearance and choose the Menu tab
- Choose the menu that you wish to amend
- Go to Custom Link tab and type ” # ” in the URL section
- Choose the items you want to add to your menu (categories, posts, pages, custom links) and add them
- The items will appear on the list and you have to choose your main category
- In order to add subcategories (subitems) you will just have to drag and drop them to the right
Items and subitems
You can create a, let’s say, Destinations tab and add Continents, then add a subitem (Countries) and another subitem (Cities).
In order to do so you’ll just need to drag the item like in the video below.
Piece of cake, isn’t it?
Now it’s time to customize your menu!
You can add different items to your menu. You can link directly to some posts that you’ve written, custom links, direct your readers to pages or categories.
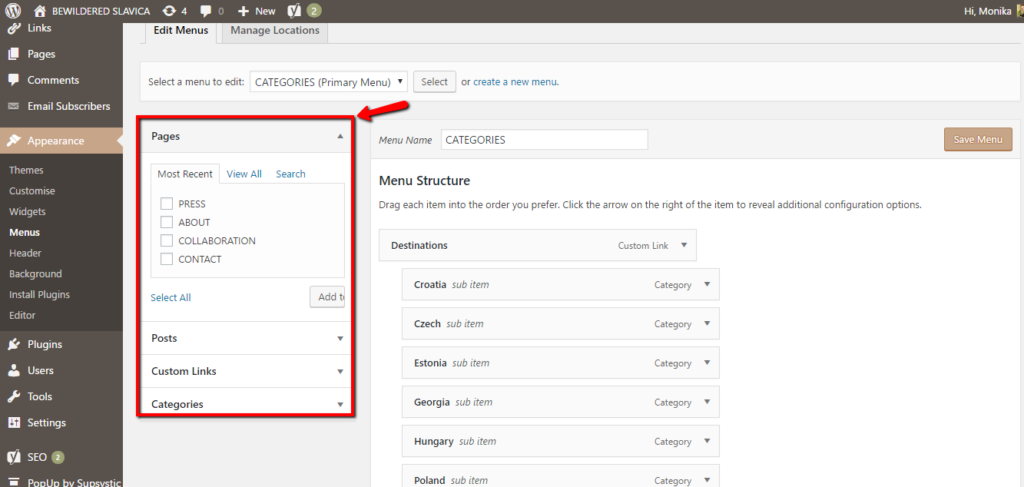
In order to do so, stick to your menu that you wish to fix. In the box on your left (I’ve marked it in red) you will see the items you can choose from. Add as many items as you want. You can now mix them, add main (mother) categories and subcategories (child)
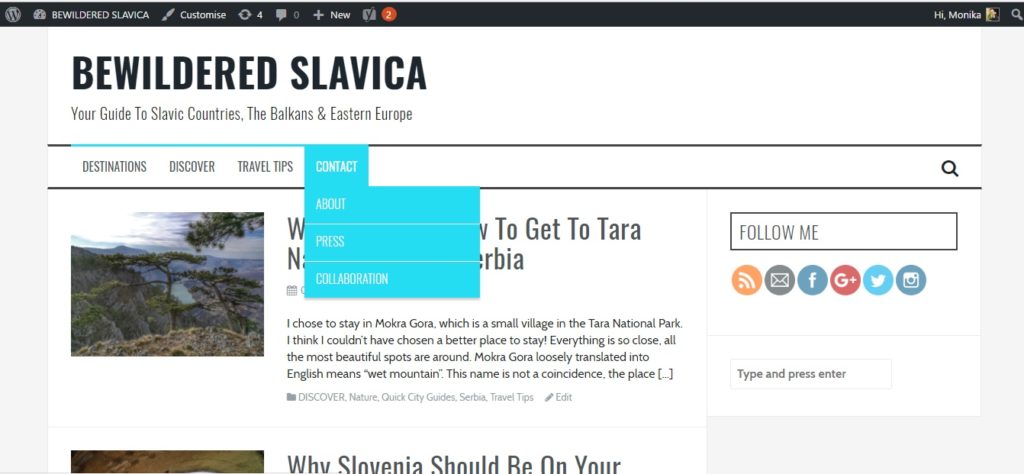
As you can see on my other blog, I’ve mixed up some items in one menu: categories and pages. First three categories (Destinations, Discover, Travel Tips) are categories that direct my readers to the blog posts. The last tab (Contact) directs them to pages.
I hope it was useful for you! Don’t forget to subscribe to my newsletter to be the first to learn new things, get to know the most amazing bloggers, discover the life of digital nomads, get discounts and special articles delivered directly to your inbox!
[mailmunch-form id=”605520″]
Do you have other tips for travel bloggers? Let us know in the comment section below if the article was useful for you, share your opinion, ask any questions you may have!
Great guide for those who use WordPress. Good to know the easy way if I will change my blog domain in the future.